Modern Luxury in Green Lake: Creating the Ultimate Double Shower Space
Dreaming of a bathroom that feels like a luxurious retreat? See how we transformed a cramped space into an open, modern bathroom with a resort-style dual shower system.


Your bathroom isn't too small - it's just waiting for the right vision.
That's what we discovered in this Green Lake home. Where others saw a cramped, awkward space with too many walls, we saw possibility.
Sure, we could have just updated the fixtures and called it a day. But why settle for "fine" when you could have "freaking awesome!"?
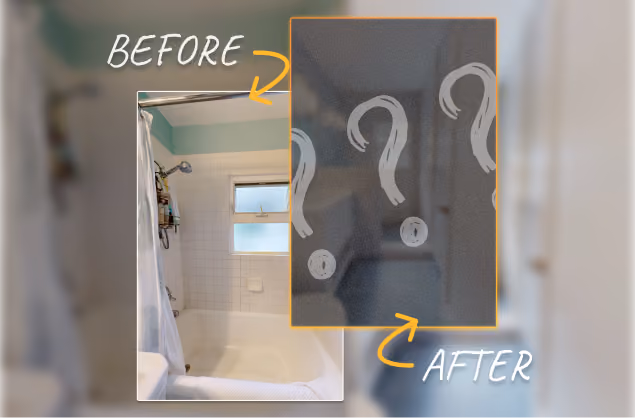
Looking at these before photos, you'd never guess this standard Seattle bathroom could become a luxury double shower retreat.
But that's the thing about bathroom design - sometimes the best solution isn't adding space, it's reimagining the space you already have.
Let me show you how we transformed this everyday bathroom into something extraordinary.
Who knows? Your own bathroom might be hiding some surprising potential too.


Project Breakdown
🎨 Style: Pacific Northwest Modern
⏱️ Timeline: 6 weeks from demolition to completion
💰 Investment: $51k (mid-range remodel)
🔨 Scope: Full reno - wall removal, custom double shower, and complete fixture updates
[.c-row-flex][.c-box-brand][.c-text-star][.c-text-star]Which bathroom style suits you best?[.c-text-star][.c-text-star] Take Our Quiz to find out in 60 seconds![.c-box-brand][.c-row-flex]
The Transformation Story
So what exactly does it take to turn a typical Seattle bathroom into something special?
For this Green Lake project, it started with a simple idea: what if we just got rid of that wall and tossed the tub?


Once that clicked it changed everything.
We weren't just updating a bathroom anymore, we were creating something that felt more like a luxury hotel suite.
Here's where it got really interesting, though.

Instead of a standard shower (or even just adding an extra showerhead), we designed something pretty spectacular: a true dual-zone shower where each person gets their own dedicated space.

We kept the design clean and modern with large-format tiles and sleek glass panels, but added warmth with those hexagon accent tiles and brushed nickel fixtures.
And its not resort-like if you don't have the floating bench and the niched shelving!
Would you like to explore every inch of this transformation? Take our virtual tour below!
Love This Look? Here's Everything We Used
Want to recreate this style in your own space? Here's a detailed breakdown of the key materials we used.
Wondering about permits for your bathroom remodel? Here's everything you need to know about Seattle bathroom permits.
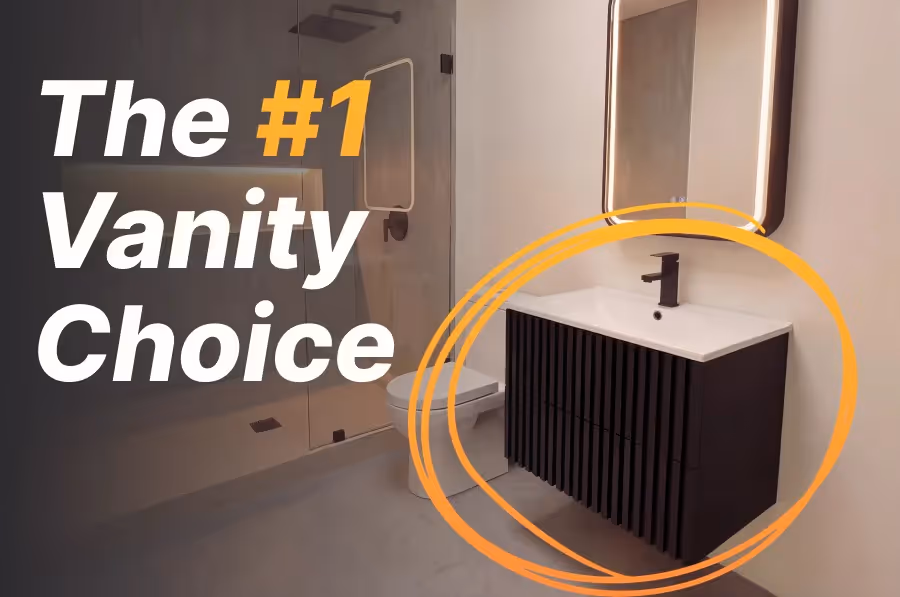
The Vanity Area

Bremen 60" floating vanity in Smoke Oak with white top

AKLFGN Waterfall faucet in brushed nickel

Lindley 1-3/16" Square Cabinet Knobs in Satin Nickel

Niveal 60" LED frameless mirror

Quoizel Taylor 5-light brushed nickel fixture
Modern Finishes

Stockton Ash 24x24 porcelain tiles

Custom hexagon accent tiles

Art3d Architectural Wood Wall Panels in Light Oak
The Showstopper: Double Shower

Two Zalerock waterfall shower systems

Custom 38" x 78" frameless glass panels
Essential Upgrades

HOROW dual-flush elongated toilet

ReVent 150 CFM humidity-sensing fan

Delta Greenwich collection accessories in brushed nickel:
- 24" double towel bar
- Towel ring
- Double hook
- Toilet paper holder
The Hidden Heroes
While not as exciting as picking finishes, these behind-the-scenes elements make all the difference:
- Premium waterproofing systems
- Updated plumbing configuration
- Modern electrical for all those luxury features
- Proper ventilation design
Take another spin through our virtual tour - you might spot some new details each time! And if you're feeling inspired to start your own bathroom transformation, here's what you need to know...
How to Start Your Project Journey

Step 1: Dream & Design (1-2 weeks)
Every great bathroom starts with a vision. During our initial consultation, we'll explore your wishes for the space - from must-have features to style preferences.
This is when we discuss things like:
- Your daily routine and how the space needs to function
- Design elements that inspire you
- Space planning opportunities (like that unnecessary wall we removed!)
- Material and fixture selections
- Budget considerations and investment planning
Step 2: Plan & Permit (2-3 weeks)
Once we've nailed down the design, we move into the nitty-gritty planning phase:
- Detailed measurements and technical drawings
- Material ordering and delivery scheduling
- Permit applications and approvals
- Construction timeline planning
- Coordination with our trusted team of craftspeople
Step 3: Transform & Perfect (3-6 weeks)
This is where the magic happens. Depending on the scope of work, your project timeline might look something like this:
- Week 1: Demolition and structural changes
- Week 1: Plumbing, electrical, and ventilation updates
- Weeks 2-3: Waterproofing, tile installation, and shower construction
- Week 4: Vanity, toilet, and fixture installation
- Week 4: Final touches, deep cleaning, and quality checks
The best part?
We handle all the details - from ordering materials to coordinating trades - so you can focus on the exciting parts of your renovation.
Plus, we keep you updated every step of the way, so you always know what's happening with your project.

Ready to start your bathroom transformation? Let's talk about what's possible in your space.
[.c-row-flex][.c-box-brand][.c-text-star][.c-text-star]Which bathroom style suits you best?[.c-text-star][.c-text-star] Take Our Quiz to find out in 60 seconds![.c-box-brand][.c-row-flex]
Explore Recent Posts
Working With a Client to Reimagine Their Capitol Hill Bathroom In 4 Weeks

Can You Put Microcement Over Tile?