
Bathroom Remodel Checklist for West Seattle Homeowners
A six-stage bathroom remodel checklist from a West Seattle contractor: budget, choosing a contractor, permits, decisions to lock before demo, and the final walkthrough.


What should be on a bathroom remodel checklist? Six stages: (1) define what’s wrong and set a budget, (2) choose a licensed contractor and get the scope in writing, (3) confirm permits, (4) lock the layout and every finish before demo, (5) plan how you’ll live without the bathroom, and (6) walk the finished room against a punch list before the final payment. Most budget surprises come from skipping stage 4. Ordering tile and fixtures after the old bathroom is torn out is how a short job turns into a long one.
We’re a residential contractor based in West Seattle, and this is the checklist we wish every homeowner had before the first walkthrough. Print it, copy it, or work through it with us.
1. Before you call anyone
- Write down what’s actually wrong. Leaking shower, mold at the ceiling, a tub no one uses, not enough storage, a vanity that’s falling apart. This list sets the scope more than any design photo will.
- Decide who uses the room, and for how long. A kids’ bath, a primary bath you’ll stay with for 20 years, and a rental refresh are three different budgets. If you’re planning to age in place, see accessible bathroom renovation.
- Set a budget range, not a single number. Start with our cost explorer and the Seattle cost guide. Keep 10–15% aside as a contingency for what’s behind the walls.
- Collect photos and measurements. Wide shots of each wall, the ceiling and the floor, plus rough room dimensions. That makes the first conversation faster and the estimate more accurate.
- Gather ideas you like. Five or six photos is plenty. Not sure? Take the bathroom style quiz.
2. Choosing a contractor
- Verify the license and bond. In Washington, look the contractor up on the Department of Labor & Industries “Verify a Contractor” tool. Ours is WA #DUETRL*770DW.
- Ask for proof of liability insurance and who is actually doing the plumbing, electrical and tile.
- Get the scope in writing. A real estimate lists what’s included and what isn’t: demo, framing, waterproofing method, tile installation, fixtures, paint, haul-away, permits. Be wary of a one-line bid.
- Ask how waterproofing is done and when it’s checked. It’s the part you’ll never see and the part that decides whether the shower lasts. See how we approach waterproofing.
- Ask about the warranty and what happens if something fails. Ours is on the warranty page.
- Check fit, not just price. Communication style matters on a job that takes weeks inside your home. More on that in choosing the right contractor.
3. Permits
- Know when a permit is needed. In Seattle, moving plumbing, adding or changing electrical circuits, or structural changes usually need one. A like-for-like cosmetic refresh often doesn’t. Details: do I need a permit to remodel a bathroom in Seattle?
- Confirm who pulls it. Your contractor should pull it and schedule the inspections, and permit fees should appear on the estimate.
- Build inspections into the schedule. Rough plumbing and electrical inspections happen before the walls close, so a slow inspection means a slow job.
West Seattle homeowner?
We’ll walk the room with you and put the scope in writing.
Bring this checklist. About an hour, no pressure.
4. Design decisions to lock before demo
- Keep the layout or move things? Keeping the toilet, shower and sink where they are is the single biggest way to control cost. Moving a drain is where budgets jump.
- Tub or shower? If no one uses the tub, a tub-to-shower conversion usually gives more room and easier access. Keep at least one tub in the house if resale to families matters.
- Shower details: curb or curbless, glass door or panel (shower glass options), and where the valve and showerhead go.
- Storage: a recessed niche while the wall is open. See the shower niche guide for sizes and placement.
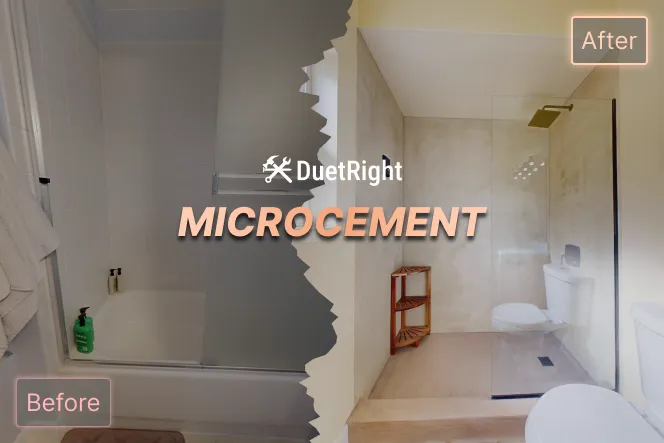
- Surfaces: tile size and pattern, grout color (epoxy grout cleans easier), or microcement for a seamless, grout-free finish.
- Ventilation: plan a new, properly sized exhaust fan. In Seattle’s damp climate, an old fan is one of the most common causes of bathroom mold.
- Lighting: layered light (overhead, vanity, maybe a night light). See bathroom lighting ideas.
- Floor heat: decide before the floor is opened. It can’t be added later without tearing up the tile.
- Vanity and toilet: size, height, wall-hung or floor-mount, and which sink and faucet.
- Order everything before demo. Tile, vanity, fixtures and glass can take weeks. Confirm delivery dates before the old bathroom comes out.
5. Living through the project
- Know the timeline. See how long a bathroom remodel takes in Seattle.
- Only one bathroom? Plan for it now: a gym membership, family, a short-term rental, or scheduling around a working toilet. Ask your contractor how long the toilet will actually be out.
- Protect the path. Floor protection from the door to the bathroom, a dust barrier, and a plan for pets and kids.
- Agree on communication. One point of contact and a regular update rhythm. Know who to text when something comes up.
- Expect one surprise in an older house. Rot under the old tub, outdated wiring, or old galvanized pipe often only shows up after demo. That’s what the contingency is for. Ask how change orders are priced before you sign.
6. The final walkthrough
- Run every fixture: hot and cold, full pressure, check that drains empty fast.
- Run the shower for several minutes and look for water outside the glass and at the curb.
- Look at grout and caulk lines in good light. They should be even and complete.
- Check the fan actually pulls air (a square of toilet paper should stick to the grille).
- Open and close every door and drawer, and test the lights and outlets.
- Get the paperwork: final permit sign-off, warranty, and care instructions for your surfaces. Ours are on the care page.
- Make the final payment only when the punch list is done.
Bathroom remodel checklist FAQ
What is the first step in a bathroom remodel?
Write down what’s wrong with the current bathroom and set a budget range with a 10–15% contingency. Those two things set the scope before any design decisions.
What should I buy before demolition starts?
Everything with a lead time: tile, vanity, toilet, faucets and shower valve, and the glass measurement plan. Confirm delivery dates before the old bathroom is removed.
Do I need a permit to remodel a bathroom in Seattle?
Usually yes if plumbing moves, electrical circuits change, or there is structural work. A like-for-like cosmetic refresh often doesn’t. Your contractor should pull it.
How do I check a contractor’s license in Washington?
Use the Washington State Department of Labor & Industries “Verify a Contractor” lookup to confirm license, bond and insurance status.
Planning a bathroom renovation in West Seattle?
We’re local, owner-operated, and we put the scope and price in writing after a walkthrough. Start your project or call (206) 413-8156.
Explore Recent Posts
Shower Niche Guide: Sizes, Placement, Waterproofing and Cost
How to Choose the Right Contractor in Seattle: It Goes Both Ways